First of all, caching is important. A cache is a collection of processed data that is kept on hand and re-used to avoid costly repeated database queries. The default cache setting is quite good but if you are running a big Moodle instance or you using cloud services where the IOPS is limited you need to set another caching approach. For this reason, I had to set up a Redis caching backend.
Author: Gábor Zsolt Nagy
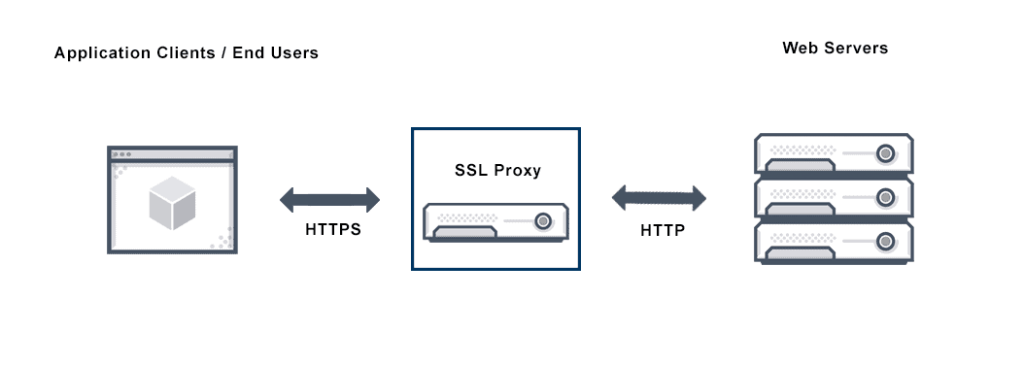
Moodle 3.9.11+ was recently installed in Azure Cloud. The installation was not an easy ride because Moodle was not prepared to install the application behind an SSL proxy. You may find the solution for this here: Installing Moodle using SSL Proxy.
I started to use Moodle then I realize that I cannot add an activity or resource. And this is something that without this feature Moodle is useless. So first of all, I checked the Javascript console on the client-side and I’d found that some of the Javascript could not be loaded because the response was 403 Forbidden.
The error message was:
Failed to load resource: the server responded with a status 403 (ModSecurity Action)
Viewing the history of a T24 version record is a really good feature of Temenos T24 and Temenos Transact.
How to use it? First of all, when you check a T24 record in See mode you can see the Curr No field that shows how many versions has this record.
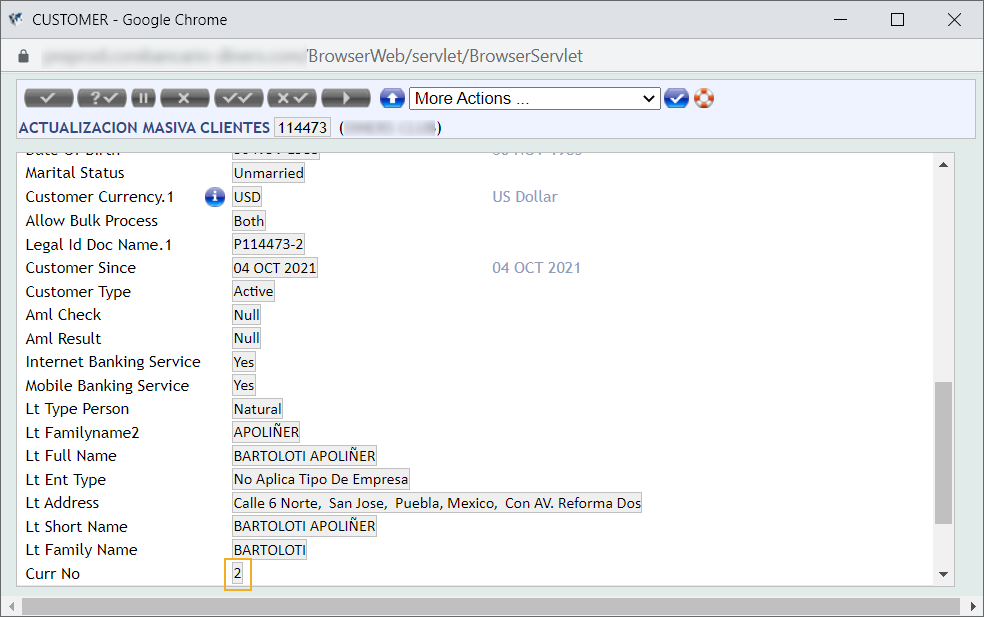
So if you need to view the previous version of the record you will need to enter the version after the record ID.
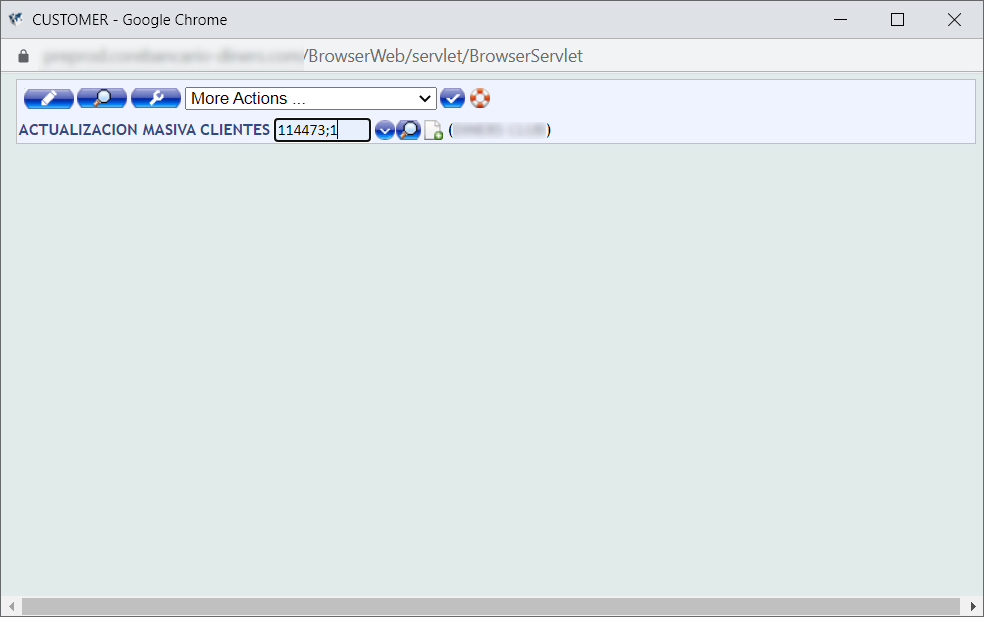
For example: if you want to check the first version of the CUSTOMER record 114473 you have to enter 114473;1 on the version main screen where the number after the “;” character identifies the version.
Note that you can only view the version record in See mode. Therefore, you need to click on the Magnifier icon on the top left corner of the screen to view the record version in See mode.
Also, note that the History functionality must be turned on in T24 to achieve this.
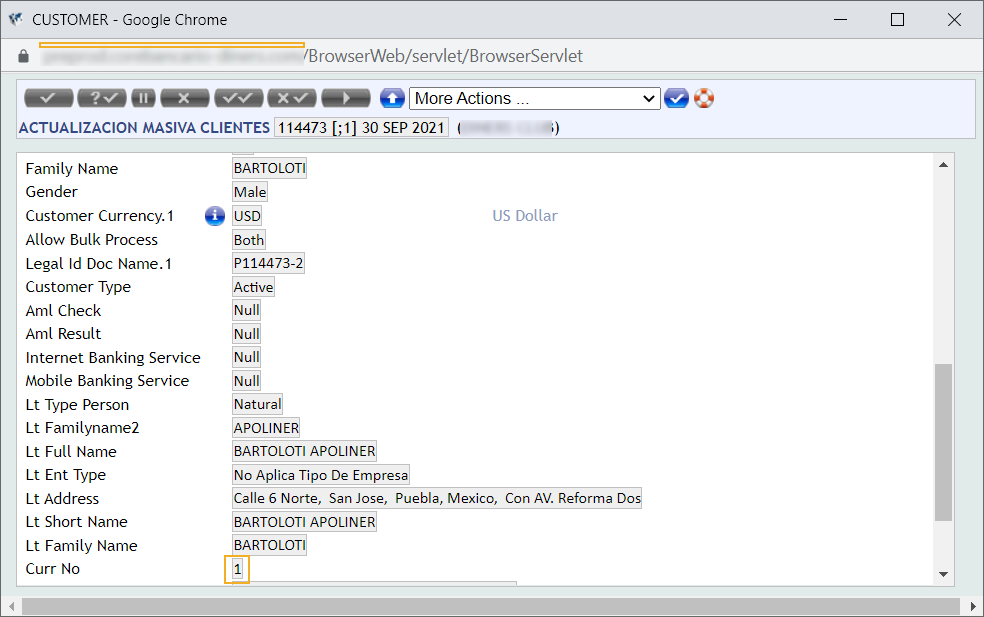
T24 will load the previous version of the record.
And that’s all.
Cheers,
First of all, this should never happen in a Production environment.
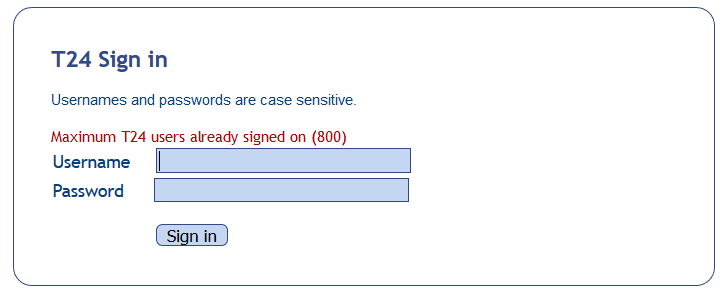
But in a Testing environment, it can. Let’s see how the tokens/sessions work in T24.
Whenever a T24 user logs in, a unique token id will be created in the F.OS.TOKEN and F.OS.TOKEN.USE tables. When the user logs off, the system will remove the id from the F.OS.TOKEN table. Theoretically.
The TOKEN will be removed from the table if:
- The user logs out using the Sign off link.
- The user signs off using the “LO” command command in the command line.
- The record from F.OS.TOKEN gets removed when the time in TIME.OUT.MINUTES field in USER record is reached. If the TIME.OUT.MINUTES field in USER record is empty, then time specified in AUTOLOG.TIME.MINS field of SPF record is being used by the system.
In some cases, this does not happen and you may get the error message that you can see in the pic above. In my earlier post, I showed how to see how many sessions are active in the environment. If you know that many of the listed users are not working in T24 anymore or there is more than 1 entry for a user then you may do the following:
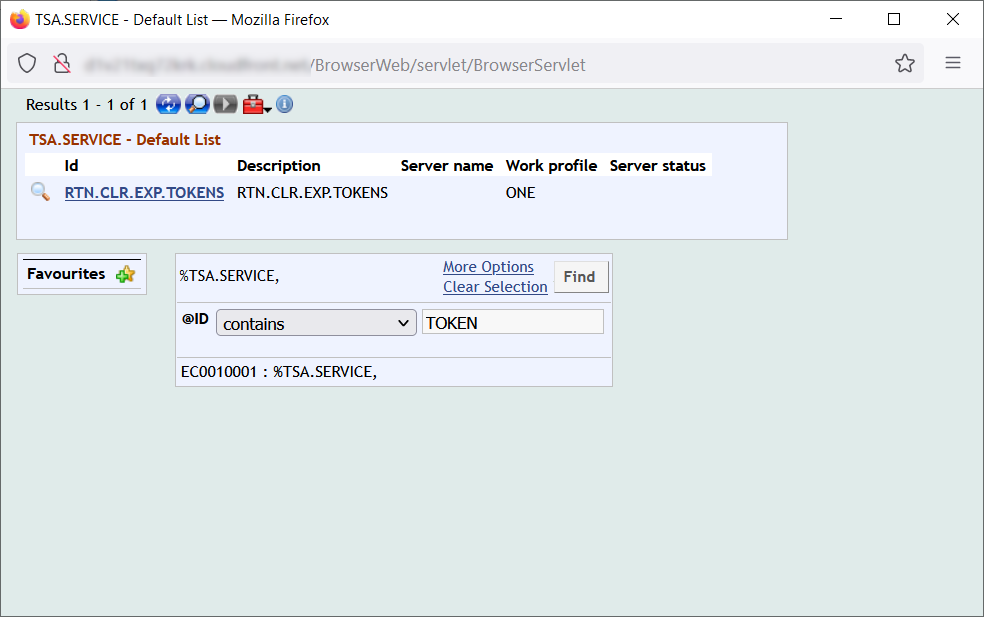
- Check if there is token cleaning up service and it is running. The name of the service could be BNK/RTN.CLEAR.EXPIRED.TOKENS or RTN.CLR.EXP.TOKENS. This should clean the OS.TOKEN table. Please note that you may not find this service in every T24.
- Check the TIME.OUT.MINUTES field on the USER configuration for each user. It is a bad practice to set this field to 999. In this case set a lower value like 5 minutes.
That’s all!
Cheers,
Some of the themes does not display this link correctly. If you do not want to modify the theme itself and you do not need the data retention summary in your footer then you can switch it off using the following steps:
- Go to Site administration -> Users -> Privacy and policies -> Privacy settings.
- Uncheck the ‘Show data retention summary’ checkbox and save the changes.
This will remove the ‘Data retention summary’ text from your footer in your Moodle site.
Cheers,
How to open a saved request in Postman?
Postman is a great tool for testing interfaces. It is a scalable API testing tool that quickly integrates into CI/CD pipeline. I use it to test Temenos Transact services. You can create POST and GET messages easily and also you can save them for later use. Unfortunately, it does not follow the conventions used in other popular windowing environments. There is no open menu. The CTRL-O shortcut opens the import dialog. So how to open saved requests? Here is the solution.
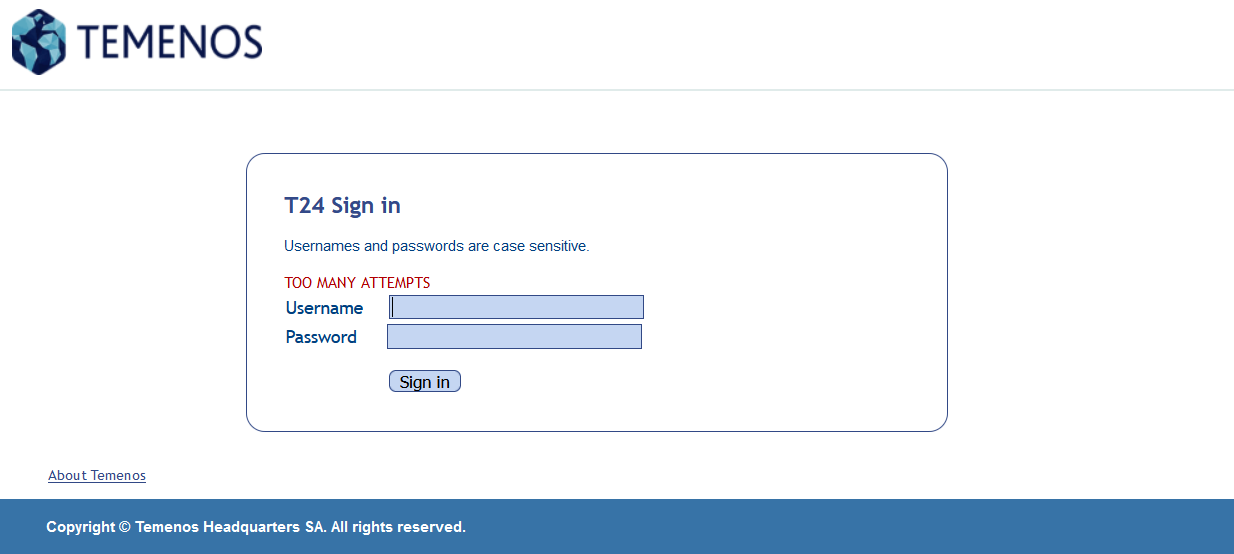
It can happen often while testing T24 Transact that a user is getting locked because of some reasons. The system administrator will be required to re-enable the user’s profile when the user has forgotten his/her password, wishes to sign-on during a deactivated period, or when the user was locked out because there were too many bad login attempts. Here is the solution how you can unlock the user.
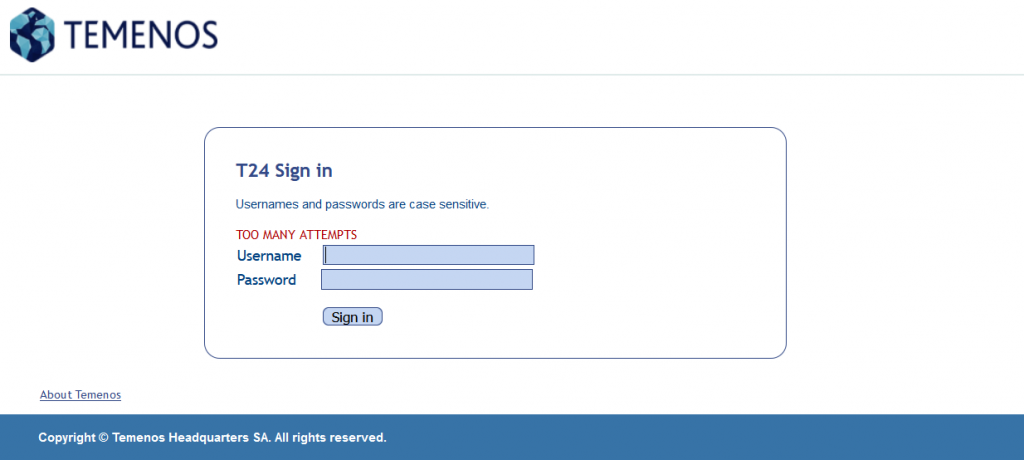
This can be important to check when you have a user limited license from Temenos. So when you see a screen like this

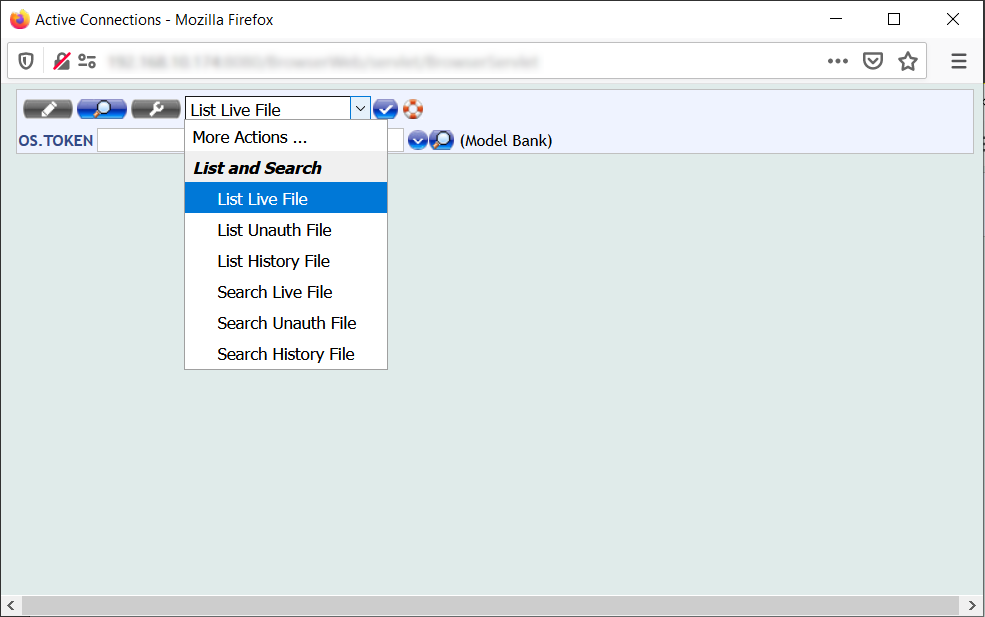
You might want to check the active users. So let’s check how many users are active in the system. First log on as INPUTT user then type OS.TOKEN in the command line and press Enter. On the OS.TOKEN application choose List Live File from the dropdown and click on the ✔ button.

In the list you may see the active users.
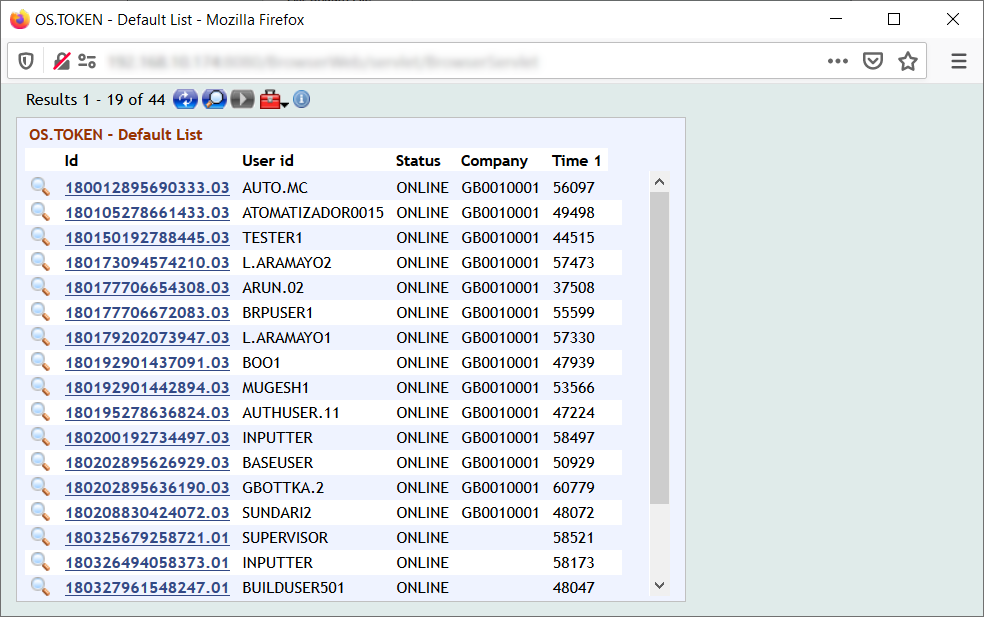
And there you are.
Cheers,
If you do not have access to run tVersion on the server there is another way to find out what release you are using.
Log in to BrowserWeb with a user that has inputter role. Type SPF in the command line.
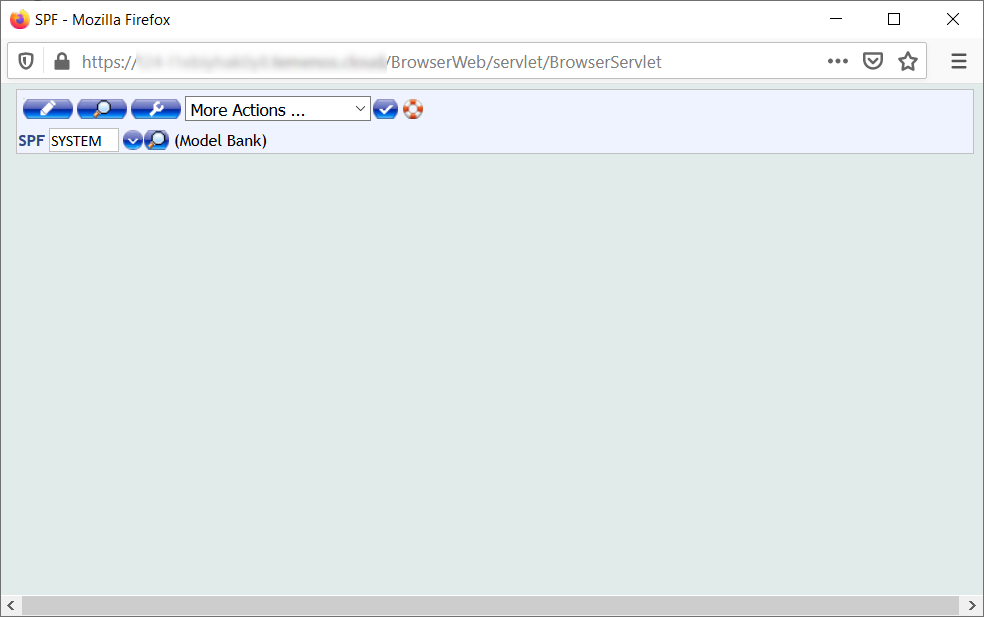
Type SYSTEM in the text box and click on the magnifier (View a contract) above the textbox.
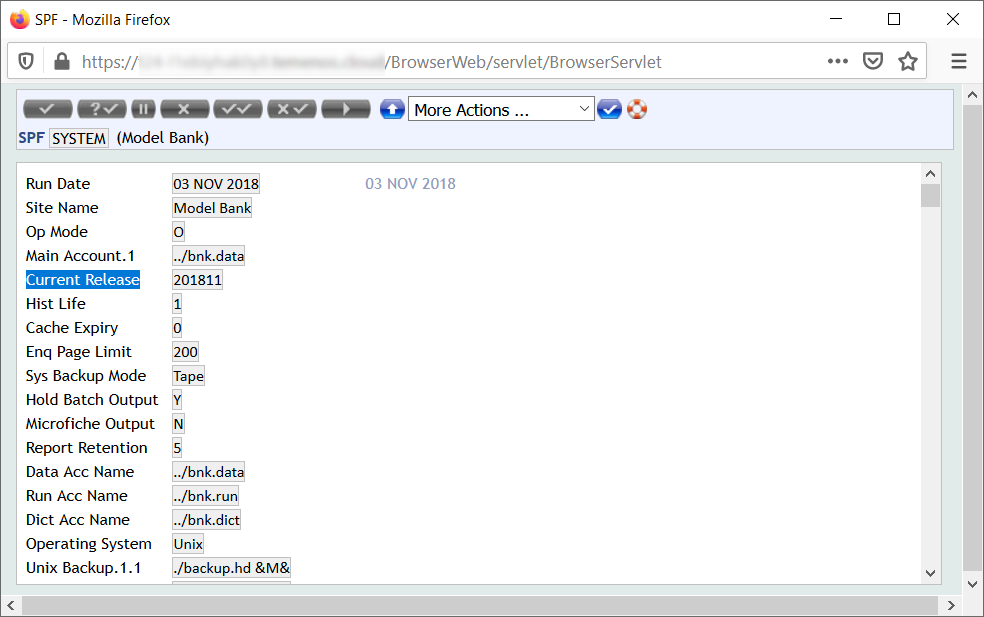
Scroll down to the Current Release field. Here you can see the value and that’s it.
Cheers,
